Power Honing
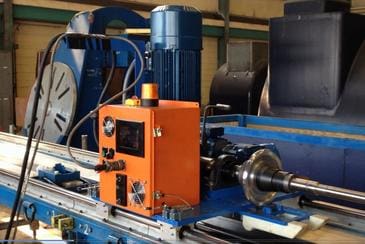
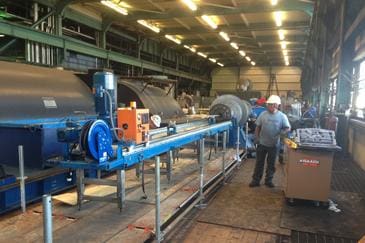
Power honing is performed to efficiently remove the buildup of scale and/or oxidation from the bore surface that may form during the in-service operation of the unit.
Typically, the honing process involves the removal of 0.010” to 0.050” of material stock from the bore diameter. Rotors that have previously been subjected to power honing and show evidence of minimal oxidation may only require minimal stock removal to provide an acceptable surface finish of approximately 63 microinches (Ra).
Bore finish (or surface texture) parameters are directly related to the sensitivity of many NDT tests that are performed to evaluate the condition of the rotor forging. Generally, the smoother the finish of the test surface, the greater will be the sensitivity for detection of minute flaws within that tested material. Of all the applicable NDT methods, magnetic particle testing will benefit most in terms of flaw detection sensitivity given a smoother surface finish. However, since most providers of boresonic services employ a contact method of ultrasonic testing, a 63 microinch finish will be of benefit as well in regards to improved signal-to-noise ratios.
The 3angles power honing system covers bore diameters between 2.75" and 13".
Manual honing can be performed as well as an alternative to power honing. Typically, this light-duty honing process involves the removal of 0.005” to 0.010” of material stock from the bore diameter.


