Hardness Testing (HT)
Power generation equipment such as gas turbines, steam turbines and generators work under high stresses, temperature, and pressure environments. Hardness testing can be a crucial test to assess the integrity and residual life of these in-service components in combination with other non-destructive testing methods.
Measuring Hardness:
Hardness is generally understood as being the resistance of a material against the penetration of a body made of a stronger material. Hardness values are arbitrary numbers, and there are no absolute standards for hardness. It has no quantitative value, except the repeatable relationship of deformation to a given load applied to a specific indenter shape.
There are different hardness scales with Rockwell, Vickers, or Brinell being the most common used:
• Vickers: uses a diamond-tipped probe with a specific load to create a tiny indentation, used for fine surfaces
• Brinell: calculated using the diameters of the indentation and the ball tip, used for coarse material
• Rockwell: measures an indentation with minor and major loads and a dwell time to allow for elastic recovery (can use a diamond tip or ball tip)
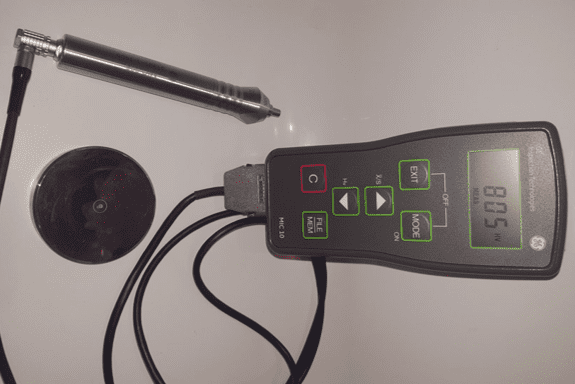
• Hardness test equipment varies from laboratory bench-scale to portable hardness test equipment used for in-service inspection of equipment. 3angles typically uses an ultrasonic contact impedance (UCI) portable hardness tester.
UCI Hardness Testing Method:
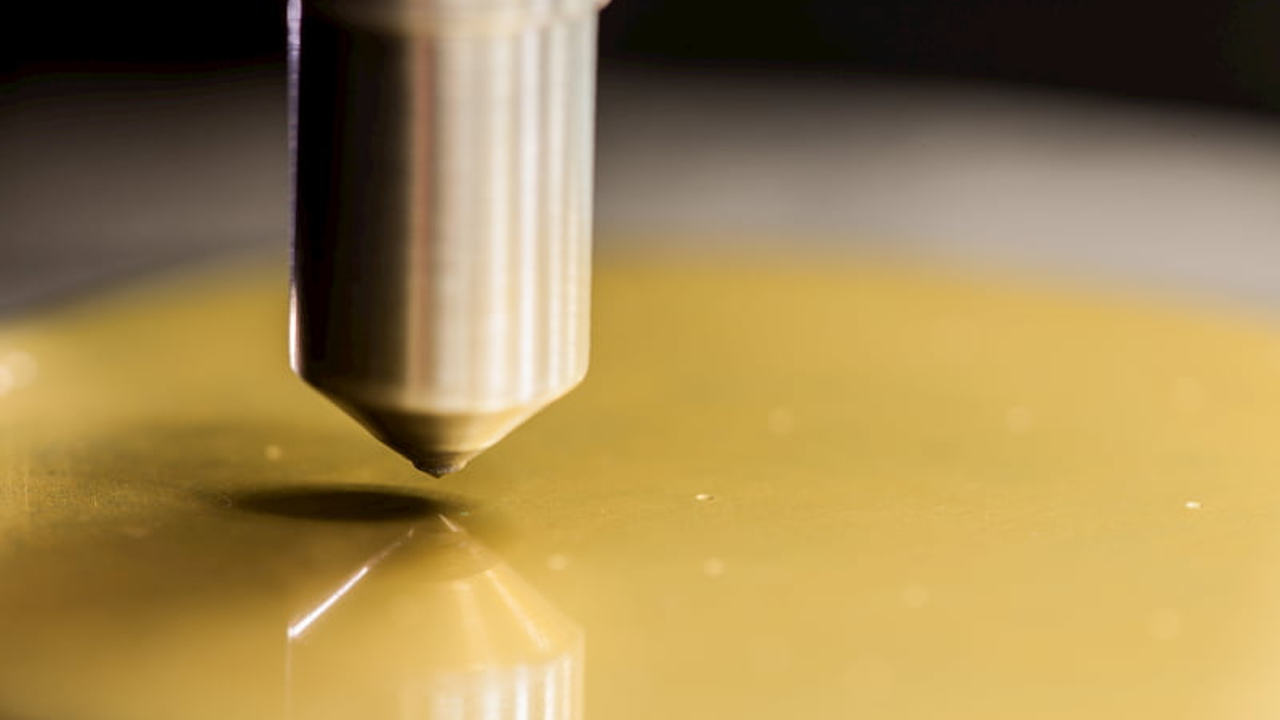
Hardness testing instruments using ultrasonic contact impedance (UCI) effectively fill the gap in hardness testing. For traditional Vickers or Brinell hardness tests, the area of an indentation made by the indenter under a given load is optically evaluated. The diagonals of the test indentation, which must be known to calculate the Vickers Hardness value, are not optically assessed in the UCI method but rather electronically by monitoring the shift of an ultrasonic frequency. This frequency shift is proportional to the indentation size of the Vickers Indenter. The frequency shift is more in soft material, and for hard material, it is less.
Various models of UCI probes are available, and based on suitable applications, a probe can be selected for power generation equipment inspections.
Advantages of UCI:
The UCI hardness test procedure can be performed relative quickly. The method is most accurate on fine grain, homogenous materials that are of sufficient mass and thickness to negate the effects of sympathetic oscillations and flexural waves produced by probe tip vibrations. Proper probe selection and surface preparation are paramount to the successful hardness measurement of a specific material for a specific application.
Limitations of UCI:
It may become more user-dependent if the method is not kept in a steady location orthogonal to the test surface. A deviation from the 90° angle leads to biased hardness readings. Additionally, in the case of tiny indentations, even a slight probe movement during the test might significantly impact the reading.
Calibration of UCI Tester:
Proper calibration is required to ensure the accuracy of the test results. When a calibration test piece made of the same material is not available, hardness test blocks can be used to achieve accurate results for the parts. If calibration samples with known hardness are used, a more accurate calibration for a particular material is possible.


